Start your first webinar!
LEARNING GOAL: launch your first webinar independently
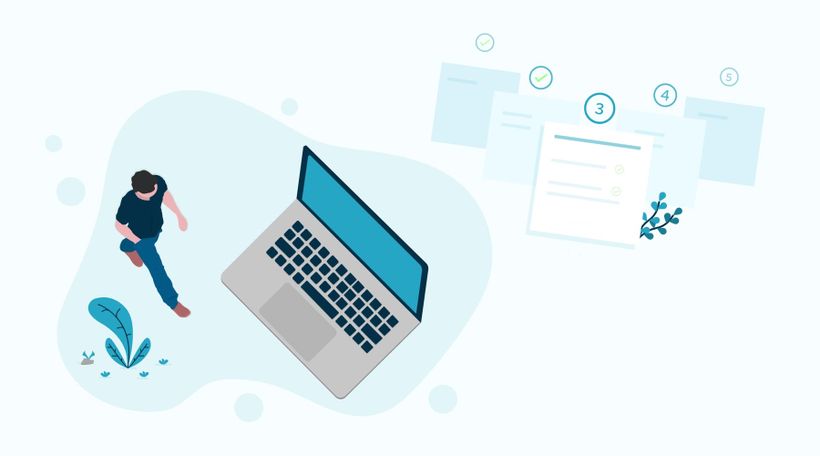
What do I need for my first webinar?
To organize a webinar you only need four things:
1. A computer
2. A webcam
3. A headset and/or microphone
4. An internet connection
Any modern computer is enough to give a webinar. One of the requirements is the use of the web browser google chrome when creating a webinar.
How does it work?
WebinarGeek is made in such a way that everyone can give a webinar. It is user-friendly and shows you step by step on how to get started with your first webinar!
1. Start a free trial and create a new webinar
In your home screen, you can press a +new webinar in the top right to start creating your first webinar.
2. Choose your webinar
As we discussed earlier, you can choose between 3 types of webinars. Choose the webinar that best fits your purpose and which makes you feel the most comfortable as a presenter. Do you still find it exciting to present live? Then choose an automated webinar.
3. Choose a suitable title
An important part of creating a webinar is creating a catchy title. You can do this by giving a promise. You must be able to realize this promise. For example: "How to create good content in 5 handy steps". And not "Learn to write the best content in 5 handy steps". The goal is to choose a title that you can make true and which directly benefits people. Make a title that appeals to people and keep your promise!
4. Setting the language
This step speaks for itself. Choose the language of your webinar and tailor it to the target group. The tool adapts the template in your chosen language.
5. Date and time
Choosing a suitable day naturally depends on your target group. When is your target audience online and when do they have time?
In general, the following rule is important when creating a webinar:
Tuesday to Thursday is the best time to organize a webinar
Monday is often a catch-up day
For many people, Friday is a day to start the weekend early
The time for giving a webinar is difficult to determine. This depends on your target group. When you serve a business market, keep in mind, for example, not to give a webinar between 12:00 - 13:00 when most people have lunch. Therefore, think carefully about your target group and when it suits them best.
6. Offer a replay?
In the last step before you create your first webinar, you have the option to choose to make the webinar available for a replay. This is also useful for non-viewers who have registered for the webinar but did not come to watch the webinar.
When the viewer views an on-demand webinar, the interaction is copied from your live webinar. Exactly at the moment that you have activated a live poll, it will also be shown to the viewer during the on-demand webinar and you can respond to it in real-time. When a question is asked during the on-demand webinar, it is automatically forwarded to your mailbox so that you can respond quickly.
This way you keep collecting useful statistics. Plus, you can organize your next webinar even better and generate valuable leads even easier.
When you have made a choice, click on create webinar.
What did I learn?
Create my first webinar
What to look out for when creating my first webinar
Next courses

Improve your audio using OBS - part 2
Enhance your webinar audio with OBS filters! In Part 2, explore advanced effects like compressor, expander, limiter, EQ, and more for exceptional sound quality. Tune in and level up your webinars!

How To Promote Your Webinar On Social Media
In this video, we will show you our top tips and tricks for promoting your webinar on Social Media. From which Social Media platform is the best for you to how you can use a call to action!

Use AI to create your webinars
Discover the future of webinars! With AI you can create a webinar in minutes—from outline to presentation, recording, and promotion. Say goodbye to hours of preparation and hello to seamless, efficient webinars.

Scale your lead generation funnel by WebinarGeek
WebinarGeek shares their expertise on using the power of webinars for lead generation.

The Ultimate Camera Switcher: Atem Mini
Explore how the Atem Mini, an versatile camera switcher, can revolutionize your webinars with its easy-to-use interface, multiple input options, and professional-grade features. Perfect for anyone looking to enhance their live streaming setup.

Create a webinar for online training
Engage, challenge, and assess your viewers with these features

Optimize your webcam with OBS - part 1
Enhance your webinar's visual appeal! Learn to optimize your webcam image using OBS. Brightness, contrast, saturation, sharpness—master these settings for a captivating presentation.
Time saving features
Discover all the automations and shortcuts you should be using

How to stream webinars with vMix part 3
Complete your vMix journey in the final part of our series! Explore titles, overlays, configure vMix with WebinarGeek, and discover how to record your streams. Elevate your streaming game and unleash your creativity with vMix.
5 Tips For Your Pre Recorded Webinars
Make your pre-recorded webinars more engaging and professional by optimizing your presentation, preparing for different formats, and ensuring a distraction-free experience.